If you want to help us maintaining this wiki, check out our discord server: https://discord.gg/3u69jMa
Create Terrain
Creating terrain is easy but you need patience and sometimes it results in crashing. Let's go! :)
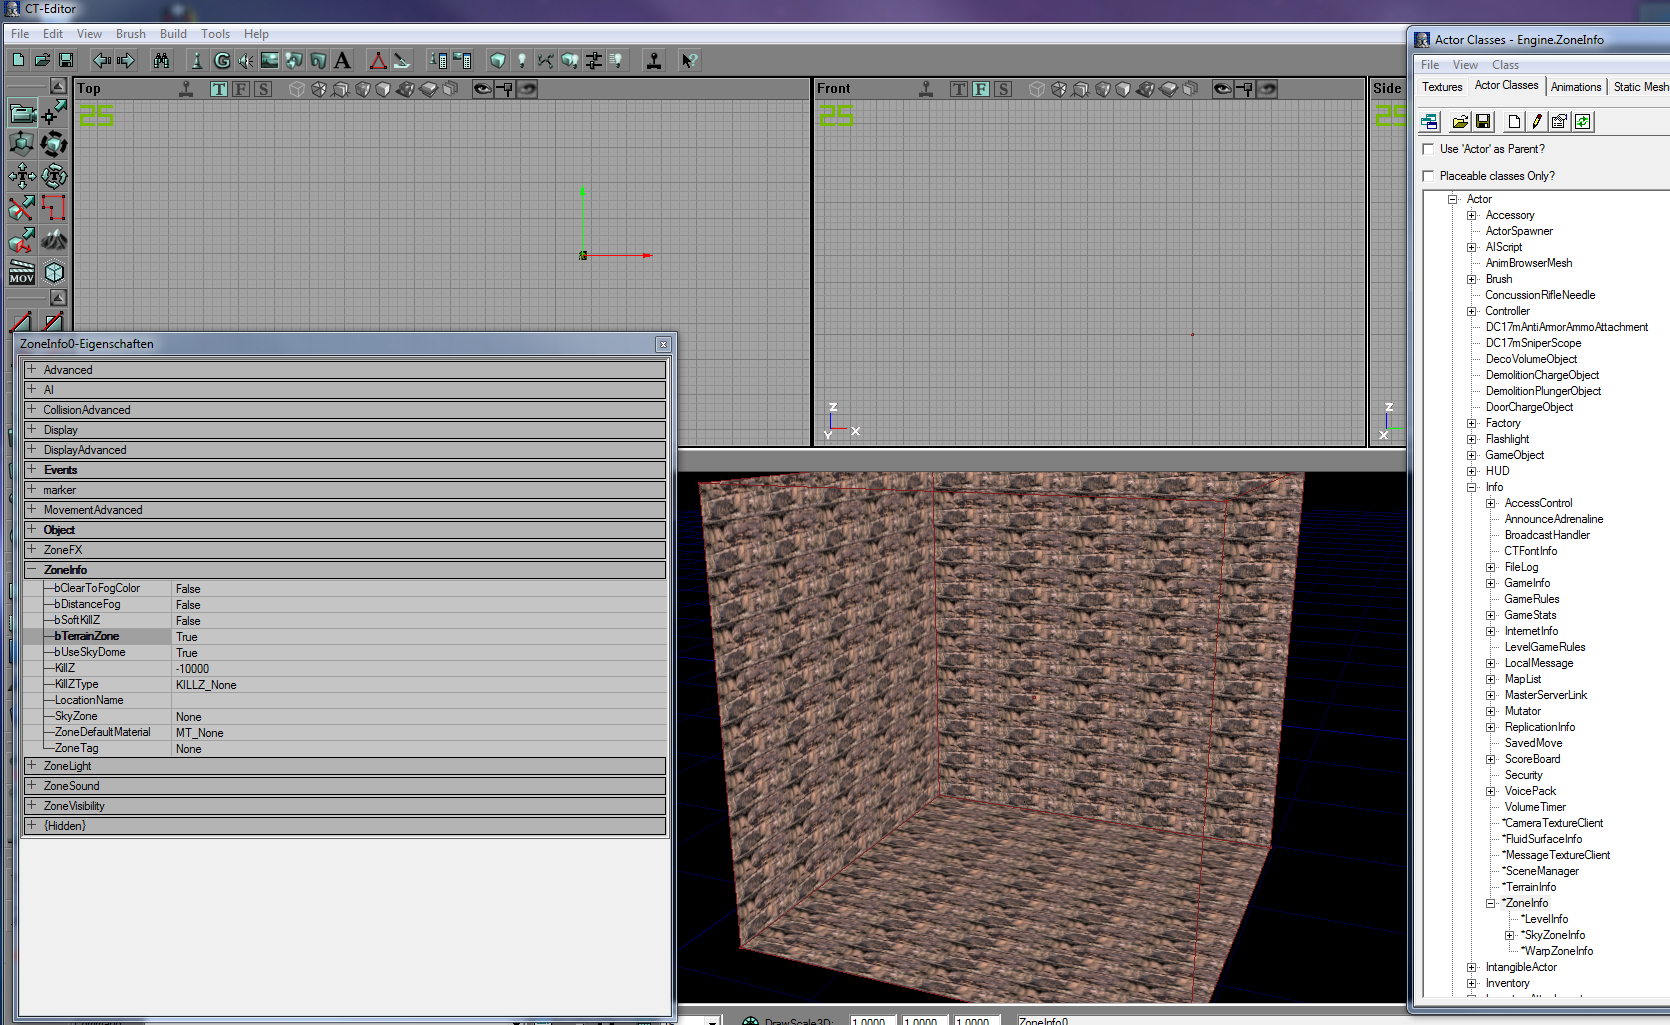
We start again by creating a giant room or BSP geometry where we want to place our terrain. We also need to place a zoneinfo inside our geometry. Zoneinfo can be found inside Actor browser under Actor->Info->ZoneInfo.
Open up zoneinfo properties and under the category ZoneInfo, change bTerrainZone to True. It should look like on the screen below.
Don't forget to click Build All and save your map before going on!
Now head to the sidebar to your left and search for an icon which looks like two mountains with ice on top.
Left click on it and terrain editor will open. Now on the bottom click New...
Adjust the XSize and YSize to the Size or geometry you need. Never go above 128!!! Always use the power of 2!!! (2,4,8,16,32,64,128) @Add calculation for this shit later! Keep the rest as it is.
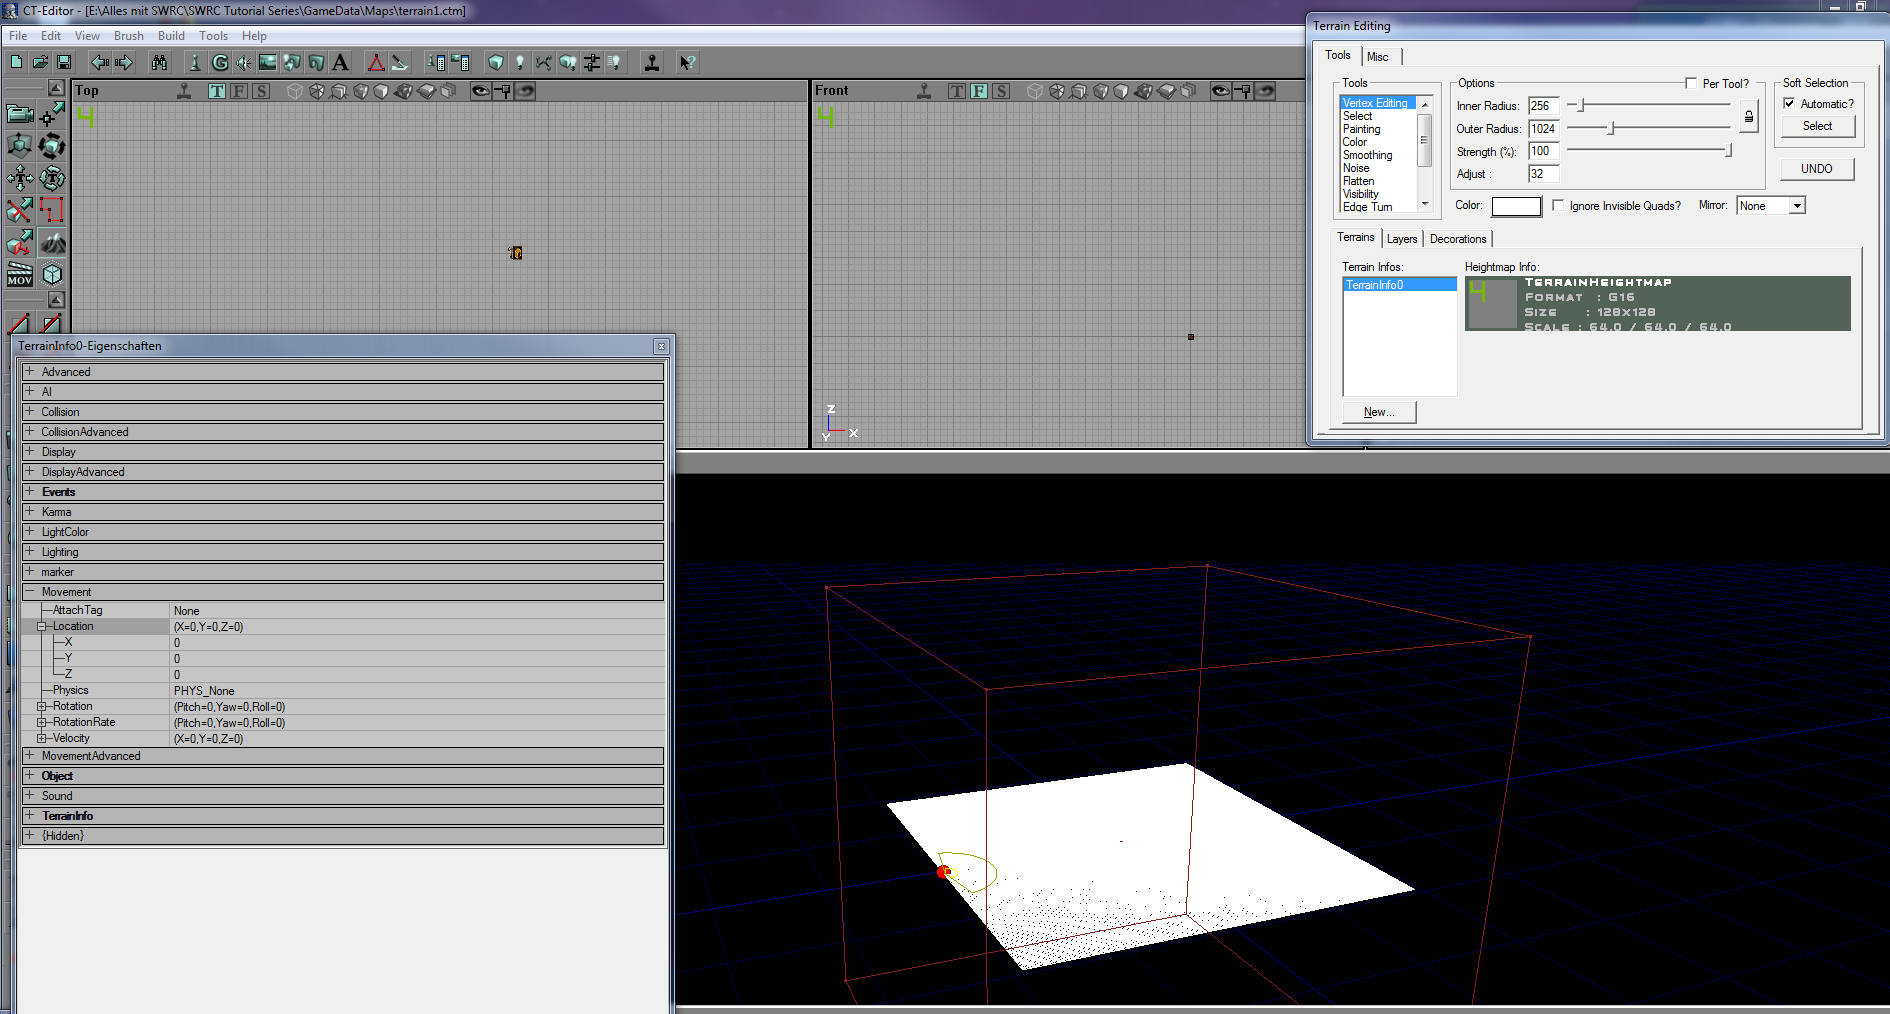
After clicking on OK, Build everything again and save. Now switch to wireframe mode (Alt + 1) and you should see a white grid inside your geometry. If not open up the terrain properties by click on the terrain label inside the white box above the New... button in terrain editing. Go to Movement->Location and change X Y Z to 0 so it should be at the origin.
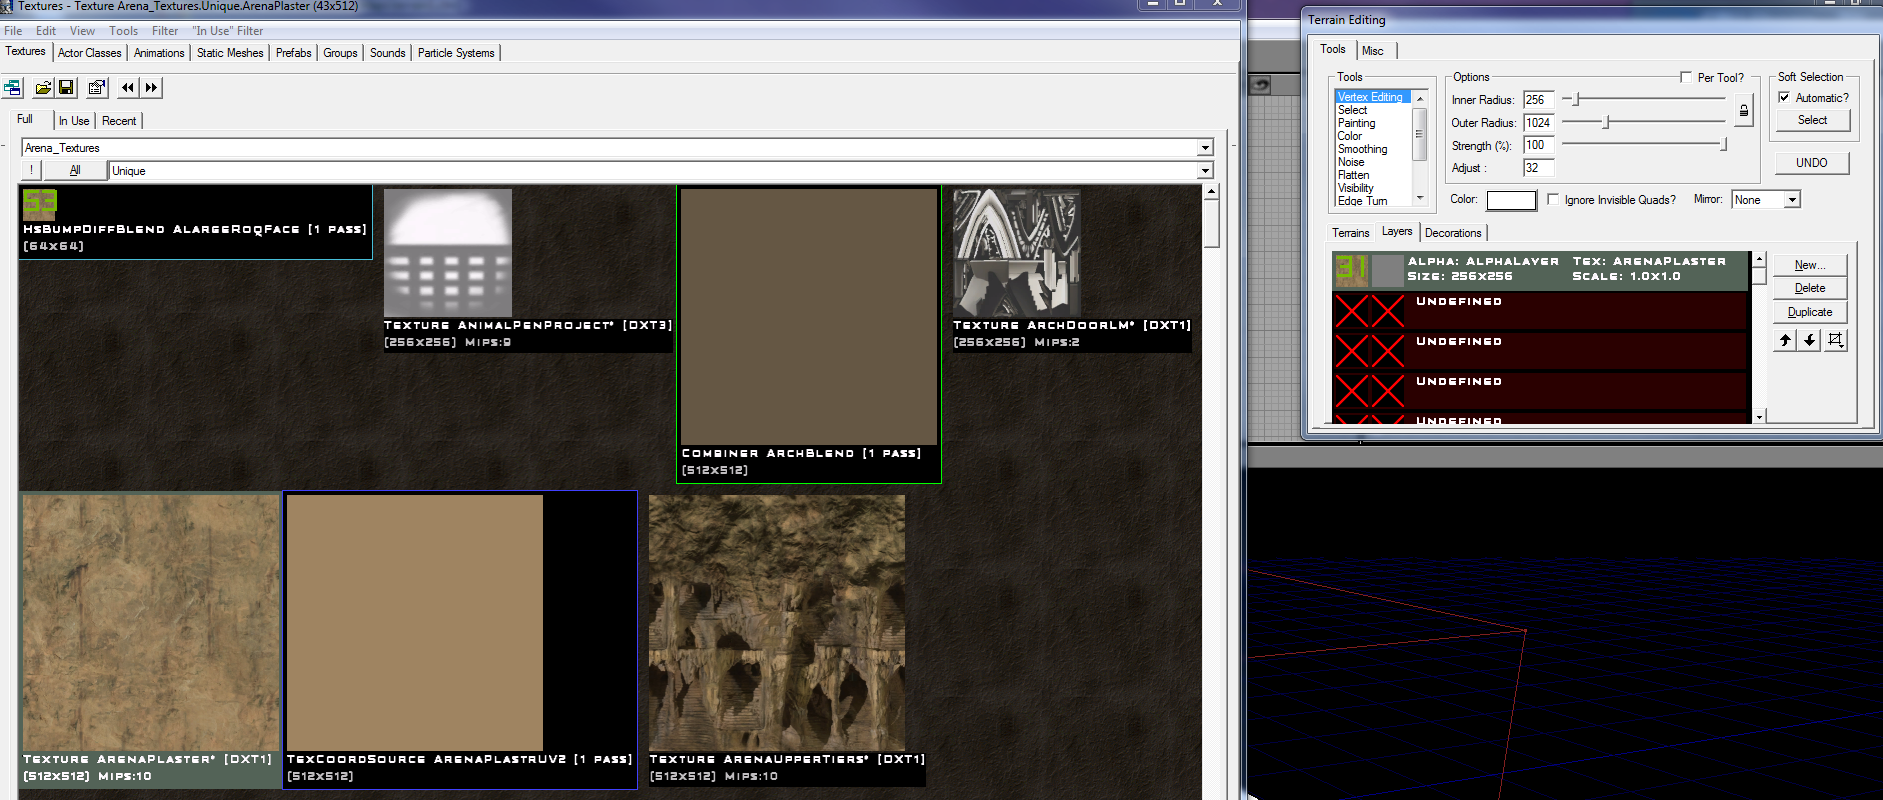
Now we assign a texture to our terrain by going to Layers tab inside Terrain editing window. Select a texture from texture browser you want to assign and select the first Undefined entry and click on right side on New... button. A new prompt will show up. For now you dont have to change anything. Just click on OK.
Now switch to textured view with Alt + 6 and you should see a texture on your terrain. It may look weird but we can fix it. Take a closer look at the terrain editing. Everything you need is there.
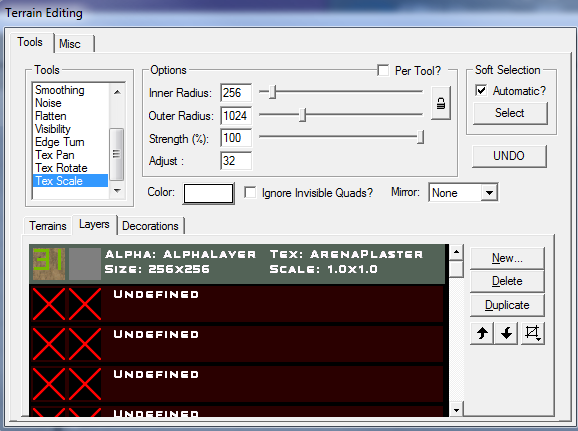
With "Tex Pan" selected, hold CTRL and left mousebutton and you can move the texture in one direction. Holding CTRL and right mouse button will do the same for the other direction.
"Tex Rotate" is almost the same as the previous one but instead rotates the texture on the terrain.
"Tex Scale" scales the textures. This is very useful to get rid of the repeating texture look what you get sometimes.
"Painting" is useful to draw a new texture on your current terrain texture. Just create a new texture layer and then hold CTRL and left mouse button to draw it. You can adjust the radius of painting and terrain editing by setting the Innter and Outer Radious to desired size on top mid of terrain editing prompt. Strength is being used with Vertex Editing.
"Vertex Editing" is where we form our terrain. With "Vertex Editing" selected, left click on your terrain once and you will see white/dark "circles" indicating the position of terrain you want to form. As already said previously you can adjust it with the radius settings. Now hold CTRL, left and right mouse button to raise or lower this piece of terrain.
When done, don't forget to build everything and save your map. At the end it should look like this:
And yes there is no close button for terrain editing. So save your map and restart UnrealED.


