Check out our discord at https://discord.gg/3u69jMa
My first map and expanding upon it: Difference between revisions
No edit summary |
No edit summary |
||
| Line 7: | Line 7: | ||
We will take the cube to start. Now right click on the cube icon and a new window will pop up. | We will take the cube to start. Now right click on the cube icon and a new window will pop up. | ||
Cube.PNG | [[File:Cube.PNG]] | ||
The only important values right now are Height, Width and Breadth, indicating the cube size. 256 is a little bit small, so let's change the thre values to 1000 and hit "Build" button. After clicking on the button, the new BSP geometry has been created, but the CubeBuilder window needs to be closed manually. | The only important values right now are Height, Width and Breadth, indicating the cube size. 256 is a little bit small, so let's change the thre values to 1000 and hit "Build" button. After clicking on the button, the new BSP geometry has been created, but the CubeBuilder window needs to be closed manually. | ||
| Line 13: | Line 13: | ||
Now look arround in 3D viewport and you will notice a red lined cube. | Now look arround in 3D viewport and you will notice a red lined cube. | ||
Cube2.PNG | [[File:Cube2.PNG]] | ||
The room still doesn't really exist for now. That's why we had one section down on the left side bar to the icons with plates overlapping. If you hover over those icons with your mouse, you will get some info text about their actions. Anyway, select the new created cube by clicking on one of those red lines in 3D viewport. More lighter red lines indicate the cube has been selected. Now left click on "subtract" button, the top right one. You will notice your cube turned into a white ugly room. From now the room really exists where players could play. | The room still doesn't really exist for now. That's why we had one section down on the left side bar to the icons with plates overlapping. If you hover over those icons with your mouse, you will get some info text about their actions. Anyway, select the new created cube by clicking on one of those red lines in 3D viewport. More lighter red lines indicate the cube has been selected. Now left click on "subtract" button, the top right one. You will notice your cube turned into a white ugly room. From now the room really exists where players could play. | ||
Cube3.PNG | [[File:Cube3.PNG]] | ||
Well it's time we use a proper texture for this new room. As we already know from Introduction, the texture browser will crash on certain points. First select every surface of the ground by left clicking on it and holding ctrl until we selected all 6 of them. Then go to texture browser and navigate to CoreShip_Textures/General. That's a safe place to look at everything, but don't scroll down too fast. If you found a proper texture you like, left click it and the texture should be applied to every selected surface in your room. | Well it's time we use a proper texture for this new room. As we already know from Introduction, the texture browser will crash on certain points. First select every surface of the ground by left clicking on it and holding ctrl until we selected all 6 of them. Then go to texture browser and navigate to CoreShip_Textures/General. That's a safe place to look at everything, but don't scroll down too fast. If you found a proper texture you like, left click it and the texture should be applied to every selected surface in your room. | ||
Cube4.PNG | [[File:Cube4.PNG]] | ||
You can obviously select individual textures for individual surfaces. | You can obviously select individual textures for individual surfaces. | ||
| Line 28: | Line 28: | ||
Now right click the cube icon again to bring up CubeBuilder. Build another room with 2000 units in each direction so it should look like this: | Now right click the cube icon again to bring up CubeBuilder. Build another room with 2000 units in each direction so it should look like this: | ||
Cube5.PNG | [[File:Cube5.PNG]] | ||
Now select the geometry again by clicking on one of the red lines and before subtracting the new cube, hold ctrl and left mouse button to move it arround. Place them next to each other without touching each other. Holding ctrl, left and right mousebutton will adjust heigth of selected geometry. After you moved it successfuly, hit the subtract button again. | Now select the geometry again by clicking on one of the red lines and before subtracting the new cube, hold ctrl and left mouse button to move it arround. Place them next to each other without touching each other. Holding ctrl, left and right mousebutton will adjust heigth of selected geometry. After you moved it successfuly, hit the subtract button again. | ||
Cube6.PNG | [[File:Cube6.PNG]] | ||
Now those two rooms are not connected to each other yet. Therefor we create another cube geometry, this time a little bit smaller, 500 units should be fine. Now before subtracting again, use the 2D viewport and move it between the two giant rooms so they overlap. | Now those two rooms are not connected to each other yet. Therefor we create another cube geometry, this time a little bit smaller, 500 units should be fine. Now before subtracting again, use the 2D viewport and move it between the two giant rooms so they overlap. | ||
Cube7.PNG | [[File:Cube7.PNG]] | ||
Use the 2D Viewports to adjust the position and hit the subtract button again. Now you should see the two rooms connected to each other. | Use the 2D Viewports to adjust the position and hit the subtract button again. Now you should see the two rooms connected to each other. | ||
| Line 42: | Line 42: | ||
It should look like this: | It should look like this: | ||
Cube8.PNG | [[File:Cube8.PNG]] | ||
Now finally right click on one of the surfaces and select "Add Light Here". Select it, hold ctrl and mouse button(s) to move/rotate it arround. Do it a few times until room has enough light. Also most important last step, right click on surface and click on "Add PlayerStart Here". Make sure player will spawn inside geometry and won't be stuck somewhere. | Now finally right click on one of the surfaces and select "Add Light Here". Select it, hold ctrl and mouse button(s) to move/rotate it arround. Do it a few times until room has enough light. Also most important last step, right click on surface and click on "Add PlayerStart Here". Make sure player will spawn inside geometry and won't be stuck somewhere. | ||
Cube9.PNG | [[File:Cube9.PNG]] | ||
Now most importantly after every map change, on top bar, go to "Build" and select "Build All". No errors, you are good to go, if you have some errors, try to fix them. Most of them are self explaing by error log. Save the map in map folder and start the game. | Now most importantly after every map change, on top bar, go to "Build" and select "Build All". No errors, you are good to go, if you have some errors, try to fix them. Most of them are self explaing by error log. Save the map in map folder and start the game. | ||
| Line 56: | Line 56: | ||
Expanding first map | Expanding first map | ||
Testmap1.PNG | [[File:Testmap1.PNG]] | ||
| Line 64: | Line 64: | ||
So we learned how to create a basic map containing two cubes connected to each other. Now when you take a look on the toolbox, you will recognize you can add more basic geometry forms to your map than just cubes. | So we learned how to create a basic map containing two cubes connected to each other. Now when you take a look on the toolbox, you will recognize you can add more basic geometry forms to your map than just cubes. | ||
Edtools.PNG | [[File:Edtools.PNG]] | ||
They are pretty much self explaining, just need to adjust properties before subtracting it to map. | They are pretty much self explaining, just need to adjust properties before subtracting it to map. | ||
Revision as of 18:00, 1 August 2024
Let's start our map with some basics rooms (BSP Geometry) which we are connecting to each other.
Let's take a look at the left screen border. You will see some icons which look like basic geometry (cone, cube, tuby, stairs...).
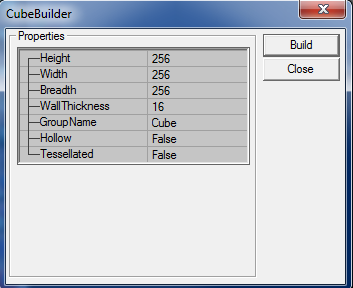
We will take the cube to start. Now right click on the cube icon and a new window will pop up.
The only important values right now are Height, Width and Breadth, indicating the cube size. 256 is a little bit small, so let's change the thre values to 1000 and hit "Build" button. After clicking on the button, the new BSP geometry has been created, but the CubeBuilder window needs to be closed manually.
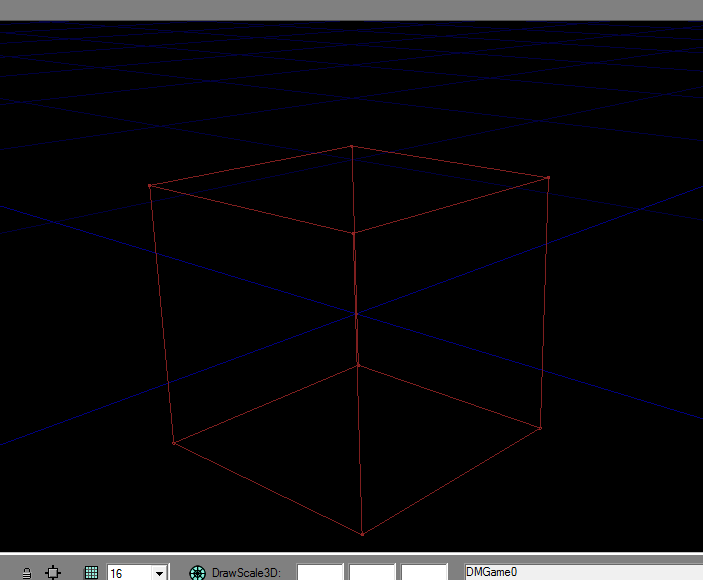
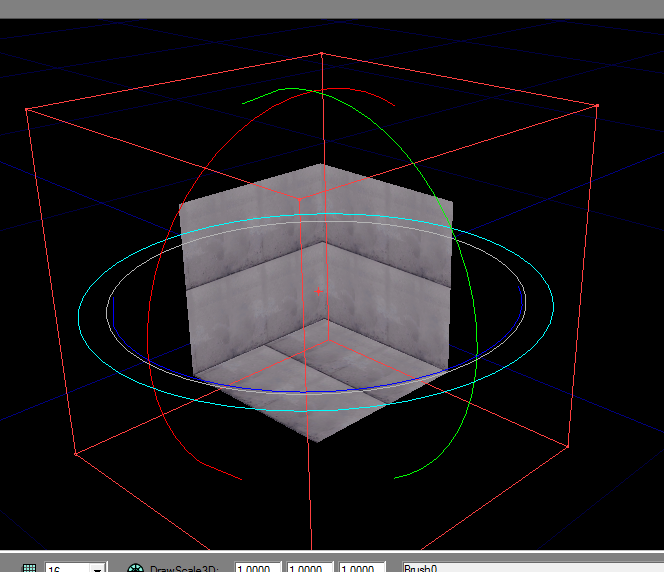
Now look arround in 3D viewport and you will notice a red lined cube.
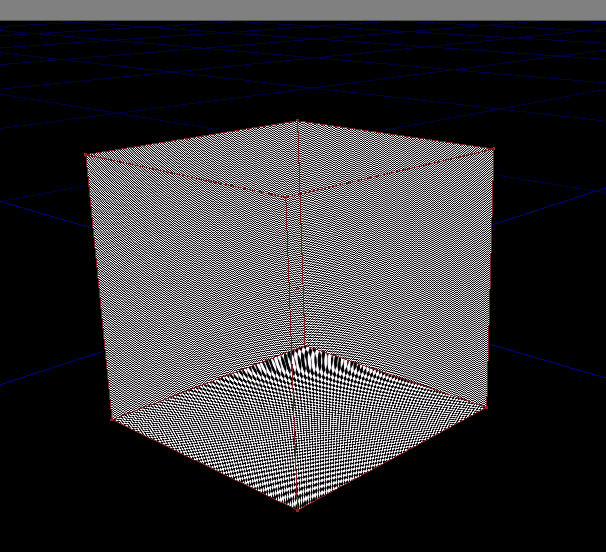
The room still doesn't really exist for now. That's why we had one section down on the left side bar to the icons with plates overlapping. If you hover over those icons with your mouse, you will get some info text about their actions. Anyway, select the new created cube by clicking on one of those red lines in 3D viewport. More lighter red lines indicate the cube has been selected. Now left click on "subtract" button, the top right one. You will notice your cube turned into a white ugly room. From now the room really exists where players could play.
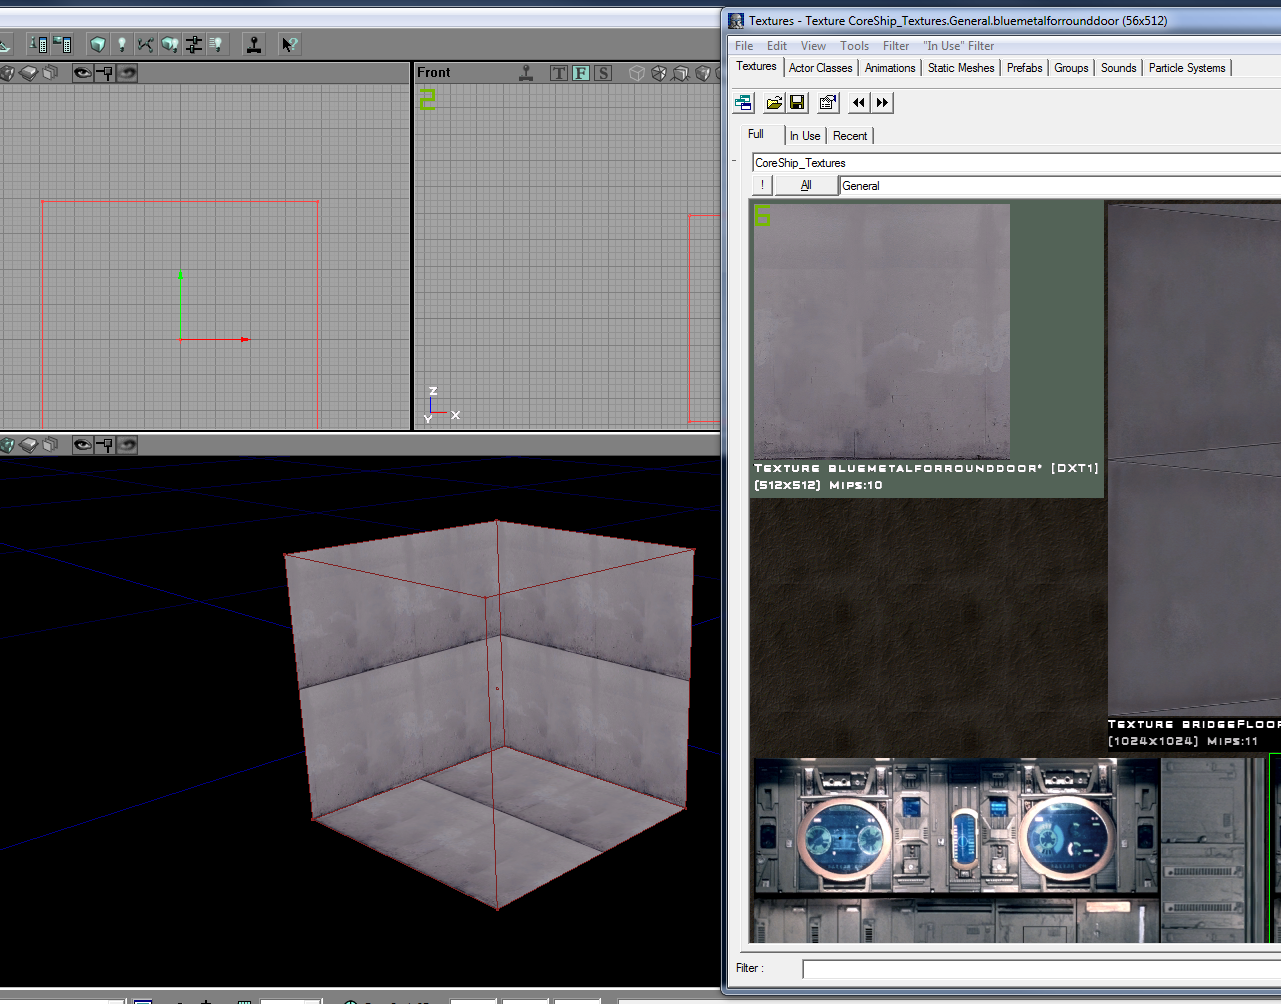
Well it's time we use a proper texture for this new room. As we already know from Introduction, the texture browser will crash on certain points. First select every surface of the ground by left clicking on it and holding ctrl until we selected all 6 of them. Then go to texture browser and navigate to CoreShip_Textures/General. That's a safe place to look at everything, but don't scroll down too fast. If you found a proper texture you like, left click it and the texture should be applied to every selected surface in your room.
You can obviously select individual textures for individual surfaces.
Now right click the cube icon again to bring up CubeBuilder. Build another room with 2000 units in each direction so it should look like this:
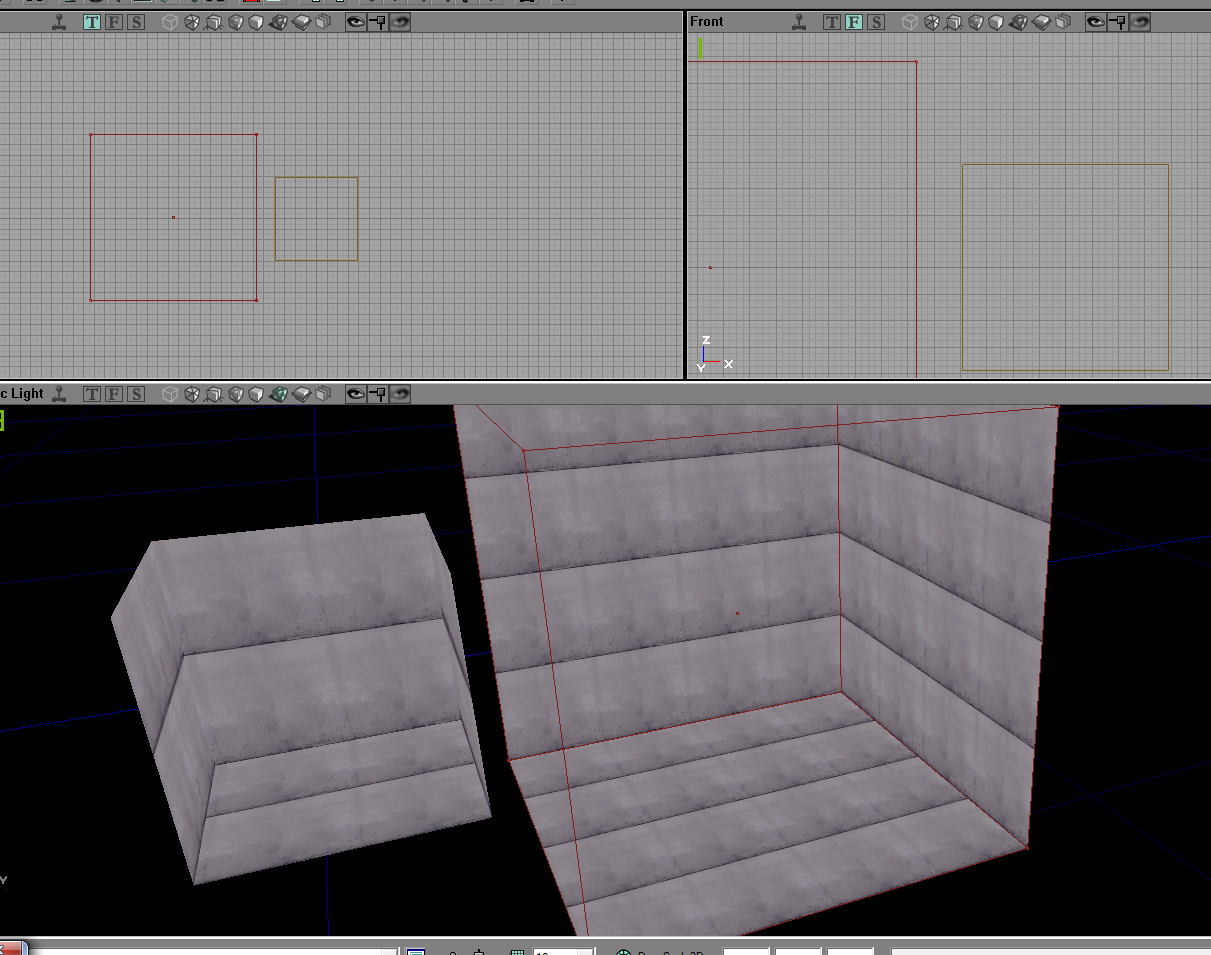
Now select the geometry again by clicking on one of the red lines and before subtracting the new cube, hold ctrl and left mouse button to move it arround. Place them next to each other without touching each other. Holding ctrl, left and right mousebutton will adjust heigth of selected geometry. After you moved it successfuly, hit the subtract button again.
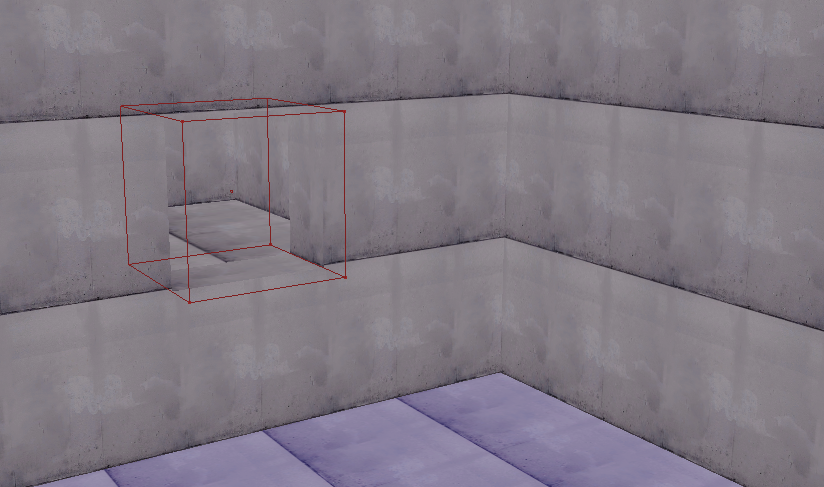
Now those two rooms are not connected to each other yet. Therefor we create another cube geometry, this time a little bit smaller, 500 units should be fine. Now before subtracting again, use the 2D viewport and move it between the two giant rooms so they overlap.
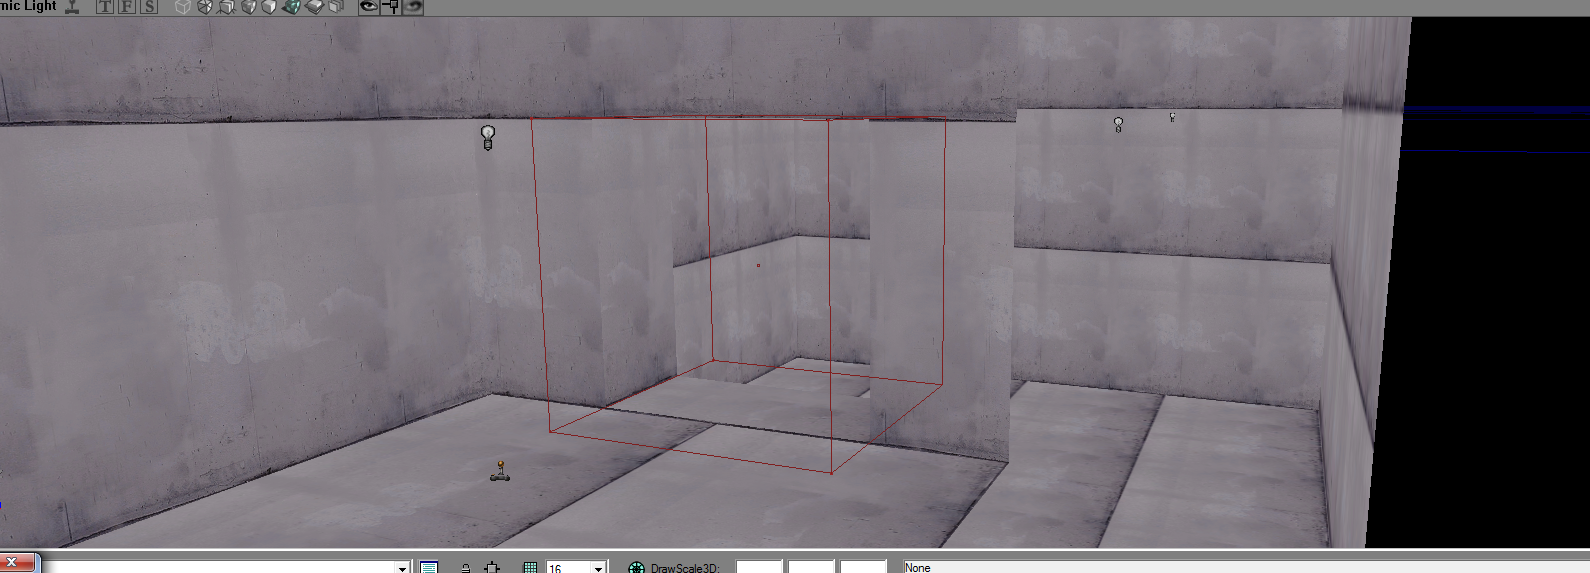
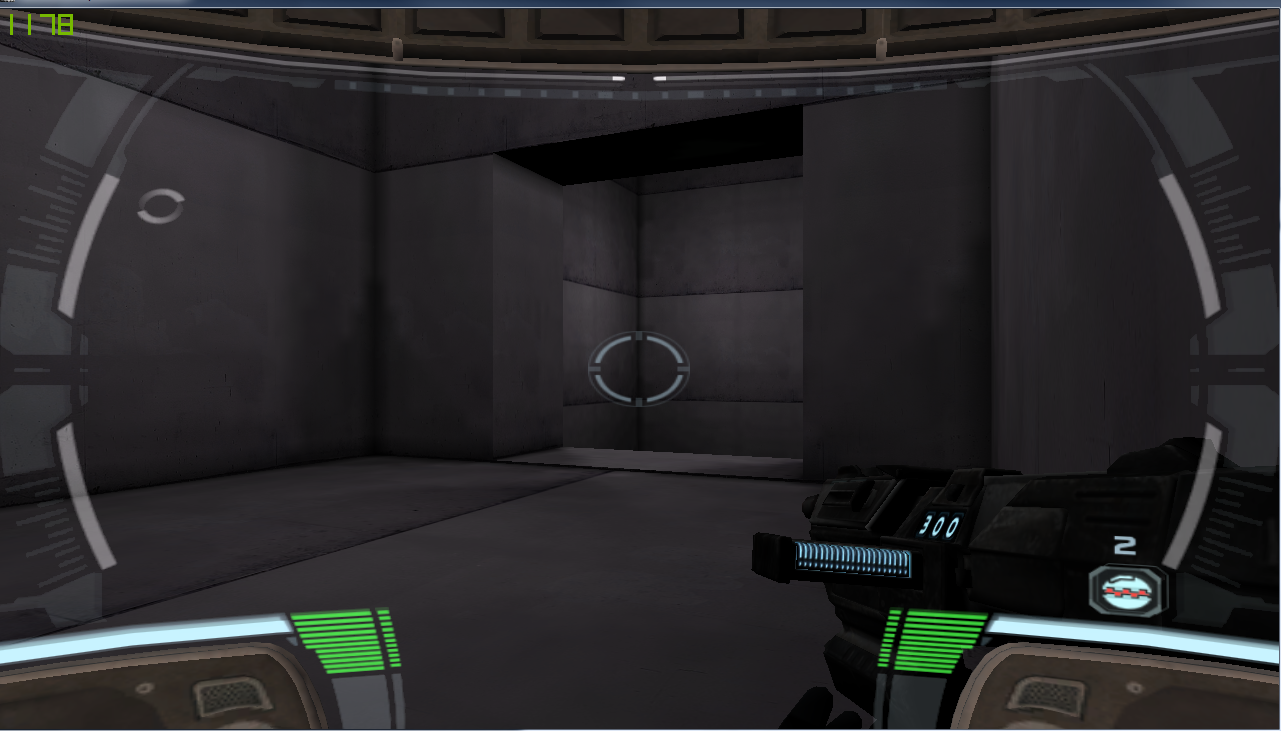
Use the 2D Viewports to adjust the position and hit the subtract button again. Now you should see the two rooms connected to each other.
It should look like this:
Now finally right click on one of the surfaces and select "Add Light Here". Select it, hold ctrl and mouse button(s) to move/rotate it arround. Do it a few times until room has enough light. Also most important last step, right click on surface and click on "Add PlayerStart Here". Make sure player will spawn inside geometry and won't be stuck somewhere.
Now most importantly after every map change, on top bar, go to "Build" and select "Build All". No errors, you are good to go, if you have some errors, try to fix them. Most of them are self explaing by error log. Save the map in map folder and start the game.
Open the console and enter: open <mapname>
In my case: open testmap1
Expanding first map
So we learned how to create a basic map containing two cubes connected to each other. Now when you take a look on the toolbox, you will recognize you can add more basic geometry forms to your map than just cubes.
They are pretty much self explaining, just need to adjust properties before subtracting it to map.
Anyway, subtracting adds the BSP geometry to the empty space where we want, but what if we want to add pillars or stairs as geometry in our cube? Subtracting won't make sense because we cannot subtract geometry from geometry. Therefore the left button next to subtracting can add geometry to an existing room. So if we want to add stairs, right click on the stairs icon, adjust properties and move it to desired location in your already existing geometry and click add to apply it.
...

